Showing posts with label Construction. Show all posts
Showing posts with label Construction. Show all posts
Tuesday, 16 April 2013

Monday, 25 February 2013
Final Cut Construction


 Once we got about half way through making our video, we decided to put in the ending before finishing it, this is because we could then see how our video was going to end so we could build a climax at the end of our video leading up to the finale so we planned what shots we were going to use accordingly.
Once we had done the verses and put in the ending we filled in the chorus', we wanted to feature the majority of our close ups in the chorus' because we feel like that is when our song was the most exciting so we wanted to use the close ups to emphasise this so we used close ups if the lead singer, guitar being played and the drums being played, when editing we made sure that the instruments fitted in well with the song and looked like they were actually being played so that our music video would look more authentic.
 Once we had finally finished our music video we converted it using quick time conversion, we did this so that our music video would be in a format that could be uploaded to Youtube and then put on our blog as opposed to just posting a link, converting our music video took a really long time, about an hour, so when it was done we were anxious to just put it on Youtube and get it posted onto our blog.
 The next, and final step was to upload our video to Youtube, this as well took a really long time and we had a few moments when we thought that it just wasn't going to work and we would have to find another way to put it on our blog, however, thankfully it eventually uploaded and we were able to get the embed code and post it on our blog.
Sunday, 10 February 2013
Album Cover Construction
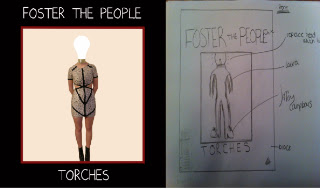
 This is the raw photograph that we have taken for the front cover of our album, we knew that we wanted to cut around the outline of our model - using the magnetic tool - and put her on a completely different background so we didnt worry too much about the surrounding area of the photo. We chose this outfit for our model because we thought that the simple black and white colours would not distract attention from the main feature of the photograph which is the lightbulb head.
 After cutting out our model and placing her on a different background (a temporary background which allowed us to focus on getting the image of the person just right) we added an effect which made the photograph look as though it was painted, we rubbed out her head and replaced it with a picture of a lightbulb which we also added the effect to. We hope that this effect makes the image look as though it was painted which would add more of an artistic element to it, and seeing as a lot of album covers feature artwork we hope that it makes it look authentic. We replaced our models head with a lightbulb to compliment the title of the album which is 'torches,' we plan to carry on this theme throughout our other three panels and feature different photographs of different sources of light


Inside Left Cover...


Once I transferred the image of the hand onto the black background, I added an effect that would make the image look like it was drawn, the effect was called 'rough pastels,' I made the strength of this effect quite high so that it can be seen easily that it is supposed to look drawn, I centered the image in the frame so that it is the main attraction of the picture.


Once we had added the flame onto the finger all we had to do was position it and add a drop shadow so that it looked like it was actually coming out of the finger. I added a film grain effect to the background of the picture because the flat black made the whole image look like it had been edited where as the slight effect to the background makes it look more authentic and like it could exist in the real media world.
Back Cover...


 Creating the spine of the cover was actually quite easy, all we needed was a black column that we could add the band name and the album name to as well as the catalogue number.
Tuesday, 29 January 2013
Final Cut Filming Schedule

We learnt from the filming of our rough cut, that when we filmed our final cut we needed to be more organised in order to get the shots that we needed quickly and easily. We have made a list so that we can tick off when we have filmed certain shots so that we leave knowing that we have all the shots that we need and havent forgotten anything. We have given a copy of this list to our actors so that everyone knows what we will be shooting and when, we have two cameras so that we can film more than one person at the same time.


I have planned how our video is going to be edited exactly so that we can go into the filming knowing exactly what our video is going to look like from the footage that we gain, this also allows me to make sure that we get all the shots that we need.
The schedule and editing list has allowed us to be more organised with our filming - which admittedly we weren't when filming our rough cut. The list of where all our footage is going to go in our video and how long the shot will be will allow us to put all the footage on the timeline easily, almost like knowing where all the pieces of the puzzle go, and just having to actually fit them together.
Friday, 14 December 2012
Rough Cut Construction
We did the first but of filming for our media video yesterday, and are currently in the process of editing our video, we shot the performance part of our music video and here are some pictures of how it all went...
 We used a projector to put the 'Foster the People' image onto the back curtain, we were going to buy a white bedsheet and paint on it but we figured that it would be cheaper and more effective if we used the projector because it would also light the stage a bit
 We borrowed a drum kit, microphones, a keyboard, a guitar and wires from the music department at our school and set them up for our music video, we used coloured lights that shon onto the stage which, we think, made the band look as though it could have been playing in a club
 We asked our band to do a practice run before we started filming - especially our drummer - because he is an actual drummer so we wanted him to get the beats so that we could match them with the song easily whilst editing our video
 The desaturate tool allowed us to make the middle section of our video black and white. We did this so that it would clearly separate the performance side of the video and the story side, this is the only 'story based' element of our music video and doesnt last very long but we wanted it to look like they were turning up to the venue.
To create what we have of our music video we used:
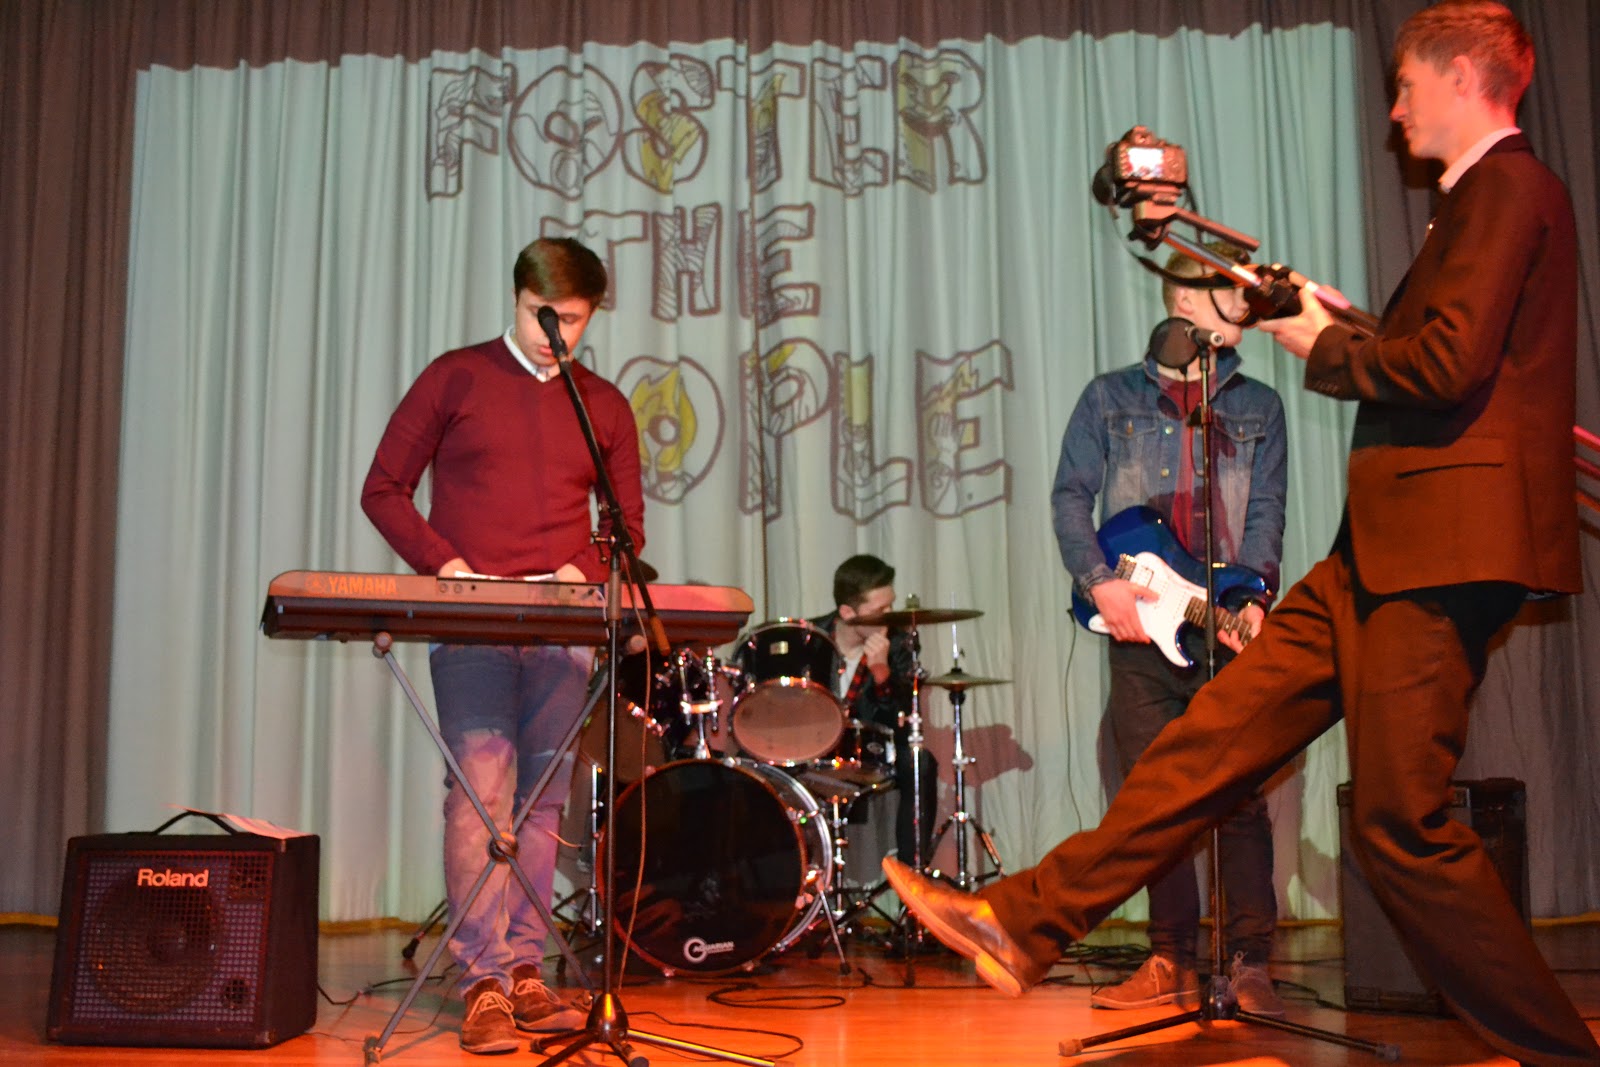 We used a projector to put the 'Foster the People' image onto the back curtain, we were going to buy a white bedsheet and paint on it but we figured that it would be cheaper and more effective if we used the projector because it would also light the stage a bit
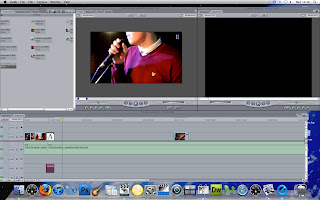
We have used Final Cut Express to edit our video, we have used the speed control to add slow motion in our video and used the desaturate tool to make some of our footage black and white. Final cut has allowed us to ensure that our video is precisely timed and all the cuts are made on the beats and the miming is believable.
 We borrowed a drum kit, microphones, a keyboard, a guitar and wires from the music department at our school and set them up for our music video, we used coloured lights that shon onto the stage which, we think, made the band look as though it could have been playing in a club
 We asked our band to do a practice run before we started filming - especially our drummer - because he is an actual drummer so we wanted him to get the beats so that we could match them with the song easily whilst editing our videoThe desaturate tool allowed us to make the middle section of our video black and white. We did this so that it would clearly separate the performance side of the video and the story side, this is the only 'story based' element of our music video and doesnt last very long but we wanted it to look like they were turning up to the venue.
To create what we have of our music video we used:
- A tripod
- 2 camera's
- A projector
- A drum kit, guitar, keyboard, microphone and speakers
- A sound system
- Final Cut Express
- Youtube
Subscribe to:
Posts (Atom)